
I am so happy to share with you my short video, Simple Steps to Create a Mixed Media Self-Portrait.
There's something powerful about creating a self portrait, when you let go of perfection and simply work with paper, texture, memory, and paint.
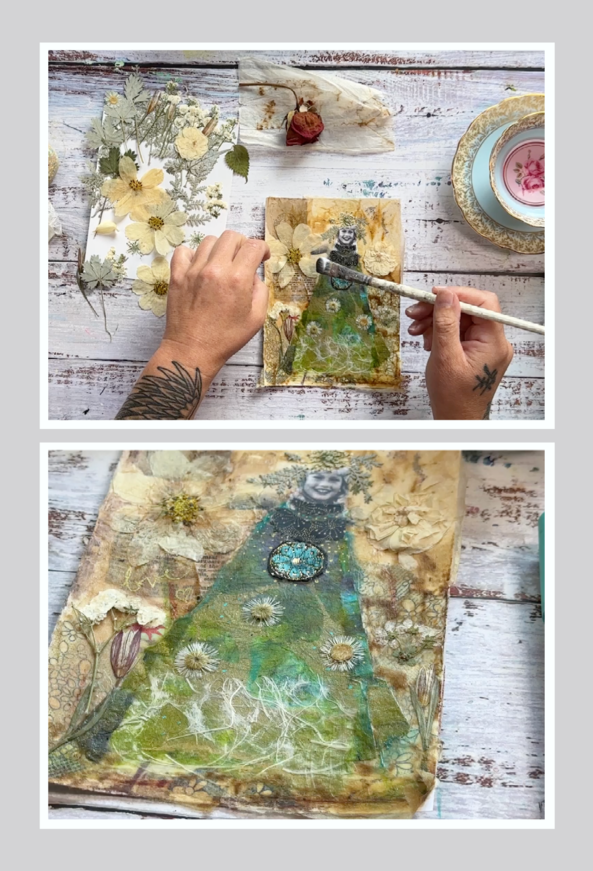
In this short video, I create a small portrait using a childhood photo as my starting point. I talk through what I’m choosing and why. Not just visually, but emotionally. The papers. The fabrics. The little decisions that begin to shape the feeling of the piece.
It’s not so much a technical lesson as it is an invitation.
An invitation to slow down.
To notice.
To let your materials speak.
Even if you never make a portrait beyond this one, I hope the video reminds you that creativity does not have to be large or complicated. Sometimes it begins with paper, glue, and a few quiet minutes at the table.
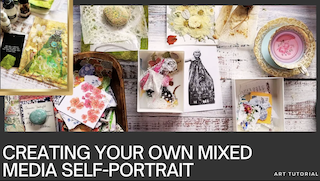
Watch the Mini Self Portrait Video Here
You’ll be taken to a simple sign up page where you can enter your email, and I’ll send the video straight to your inbox. I love sharing these small creative offerings directly, and this way you’ll also receive future studio notes and gentle inspiration from me.
What You’ll See in the Video
Inside the mini portrait video, you’ll see:
• How I choose materials that hold personal meaning
• How I begin with a simple base layer
• How layers build slowly, without rushing
• How imperfection actually adds life to the piece
This is not about drawing skill.
It’s about willingness.
If faces have ever felt intimidating, this small project is a gentle way in.
Why Self-Portrait Collage?
Creating a self portrait in collage form is less about likeness and more about presence.
You are not trying to “get it right.”
You are layering parts of your story.
A scrap of an old letter.
A piece of fabric that feels like home.
A colour that carries a season of your life.
When you begin layering these pieces together, something shifts. The portrait becomes less about how you look and more about how you feel. About what you carry. About what is ready to be seen.
Collage is forgiving. If something doesn’t feel right, you respond. You layer over it. You soften it. You adjust. Nothing is wasted.
And that mirrors how we live.

New to Mixed Media Collage?
If you'd like to create along with me, here are a few simple reminders as you begin:
1. Don't overthink it
Start tearing or cutting without planning the whole piece. Let one material lead.
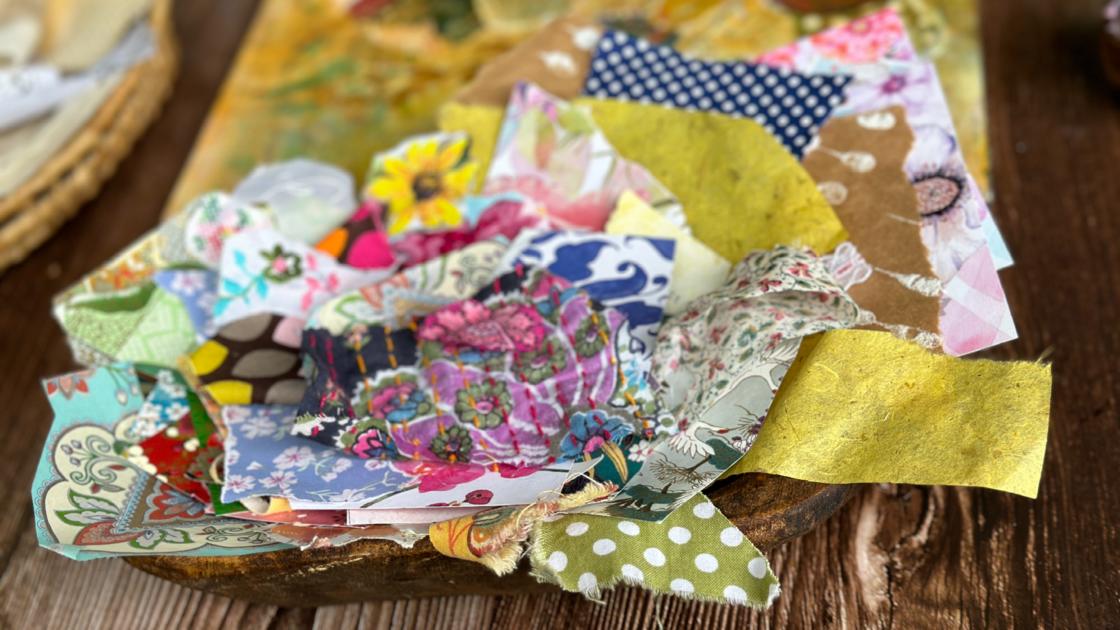
2. Gather what you already have
Old book pages, wrapping paper, fabric scraps, dried leaves. You do not need special supplies to begin.
3. Work in layers
Start with a base. Add texture. Add colour. Pause. Respond. Let it build slowly.
4. Use what works
A glue stick is perfect for paper. Gel medium works well for heavier items. Smooth things down gently and keep going.
5. Let it be imperfect
Ripped edges, uneven lines, slightly off placements. These are part of the character of collage, and they're what make the piece look like yours rather than like anyone else's.
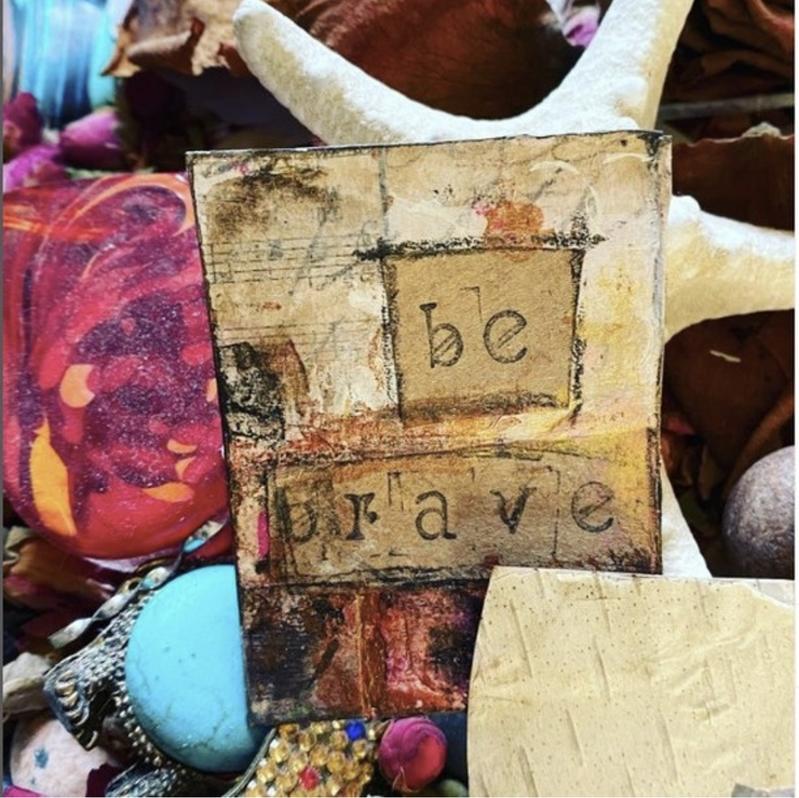
6. Finish with something personal
A word, a favourite symbol, a small piece of handwriting, a little doodle. Let it carry meaning that only you fully understand.
Most importantly, let this feel like time with yourself.
Not a performance.
Not a test.

Most importantly, have fun with it. This process should feel freeing, not rigid. If you’re kind to yourself and open to exploration, you’ll be amazed by what you create!
Stay Connected & Inspired
I send a note most Saturdays with what's on my art table and creative tips to inspire you. You can sign up here if you'd like it.
If This Sparked Something in You...
If making this small portrait stirred something, curiosity, tenderness, even a little fear mixed with longing, you're not alone in that. Many women feel drawn to faces but hesitate to begin.
In the video, I used a photocopy of a childhood photo, glued straight onto card. It's a lovely way to start, and it sidesteps the part that stops most people, which is getting a face onto the surface in the first place.
That's what I teach in Mini Muse Makers.
You find a face in an old book or a magazine, and I show you two simple ways to transfer it onto your card. One uses tracing and carbon paper, which most people are surprised by because it asks so little of you. From there you build around her with papers, fabric, lace, and whatever you've been collecting.
You never paint the face. The outline is there, and everything you add around it does the work.
The cards are small, so nothing much is at stake. If one doesn't go the way you hoped, you set it aside and start another. That's the fastest way I know to stop being precious about your materials, and it's how most people find their own style without meaning to.
Inside you'll find six video lessons, four muse projects from start to finish, a bonus video where I take one card from blank to finished, and lifetime access so you can come back whenever you like.
[Learn more about Mini Muse Makers]
Take 14 days to look through everything. If it isn't for you, email me and I'll refund you.
You don't need confidence to begin. You only need a place to start.
P.S. If you'd rather work with your own photo on a full-size canvas, painting into the face and building skin tones, that's my Personal Portraits workshop. [Have a look here].
With paint on my fingers and gratitude for your courage.
I live and create on the traditional lands of the Anishinaabeg peoples, lands that remain under their original stewardship. I honour their enduring connection to this place and their care for it over generations.


Comments