
How to add fabric, vintage finds, texture and sentimental pieces so they feel part of the painting
Have you ever glued down the perfect piece of lace or collage paper, stepped back, and felt like it was just sitting there? Lovely on its own, but not quite part of the work.
I have discovered many mixed media techniques and new ways of approaching our layered creations. Each one felt like a small key unlocking another door. A deeper understanding of how layers could work together instead of competing with each other. That feeling of ohhh… this is what I needed to do.
Over the years, I’ve been asked many questions about how I create my multi-layered mixed media portraits. Here are the ones I most often come back to, and what I’ve learned along the way.
How do you integrate added media so it doesn’t look stuck on?
It starts before anything gets glued down. I always come back to these questions:
What do I want this painting to say?
What do I want it to feel like?
What story am I trying to show?
And then, for each piece I’m thinking of adding: what does this actually do for the painting? If I know the answer, it usually finds its place. If I don’t, it often ends up looking like a visitor.
Once something is down, a few small things help it settle in:
Soften the edges with paint. Mix a little of a colour already in your background and brush it just over the edge of the added piece, half on and half off. The hard line between the two starts to disappear.
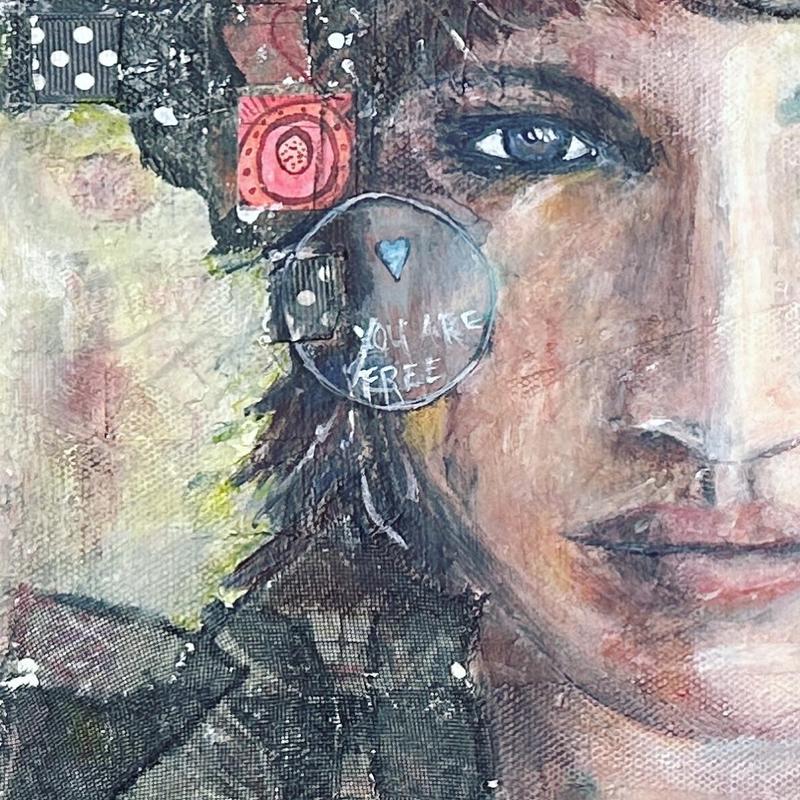
Echo it somewhere else. Borrow a colour, a stripe or a small shape from the added piece and repeat it once or twice elsewhere on the canvas. When the eye finds it again, it reads as part of the whole.
Connect it. A few pencil dots, a line of white pen, a thin strip of torn paper or a stitch can lead from the added piece out into the rest of the work.
Give the eye somewhere quiet to rest. If every area is busy, nothing feels like it belongs. Leaving one calmer space lets the layered areas around it feel chosen.
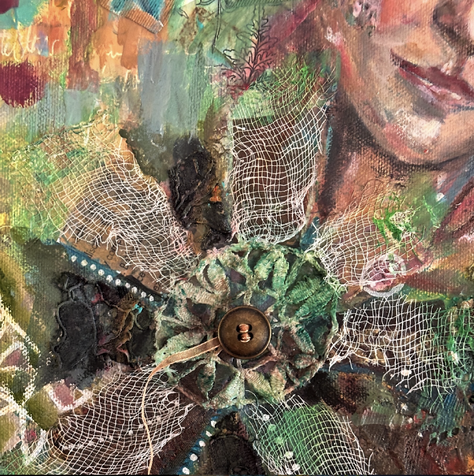
How do you work with bulkier items so there’s a gradual shift into the painting?
This is one of the biggest challenges when working with heavier fabrics, textured materials or found objects.
The goal is never to hide them, but to help them belong. To build transitions, and let the materials feel held by the rest of the piece rather than sitting on top of it.

When something is more three-dimensional, I use moulding paste to build up the canvas around it. Spreading paste out from the object and feathering it down into the surface creates a slope, so the object rises out of the painting instead of perching on it. Once it’s dry, I paint over the paste and the object together, and the two become one surface.
Which mediums work best for heavier fabrics and found objects?
For most things with weight, I use heavy gel medium. It holds thicker fabrics and found objects firmly in place, where a regular medium might let them lift over time.
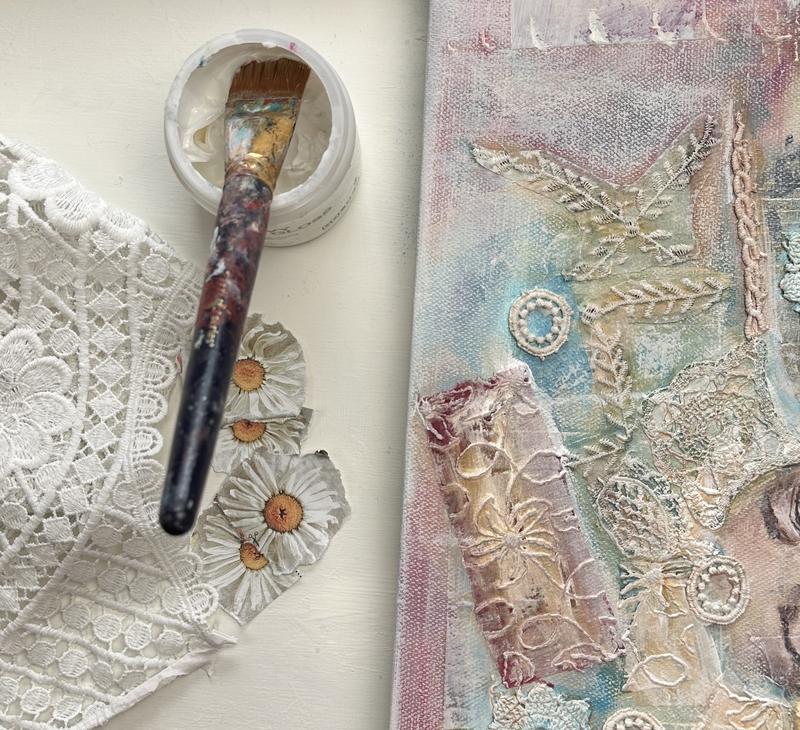
I brush it underneath and press the piece into it, then brush a layer over the top as well. That top layer seals everything in and helps the fabric take paint the same way the rest of the canvas does, which is a big part of what makes it feel embedded.
When materials are properly supported, they become part of the story rather than a distraction from it.
If you’d like to learn this step by step
Before creating the Personal Portraits workshop, I had only sold my mixed media portraits. But after being asked so often how I build them, I wanted to share the process with other creatives so they could make this kind of portrait themselves.
Inside Personal Portraits, I guide you through every layer, from transferring a meaningful photo onto your surface to working in fabric, texture, vintage elements and sentimental pieces so they feel intentional and cohesive. We go deeply into:
Blending fabrics and heavier materials so they feel embedded
Softening edges with paint so transfers become part of the surface
Building transitions so nothing feels stuck on
Choosing materials that support the story instead of distracting from it
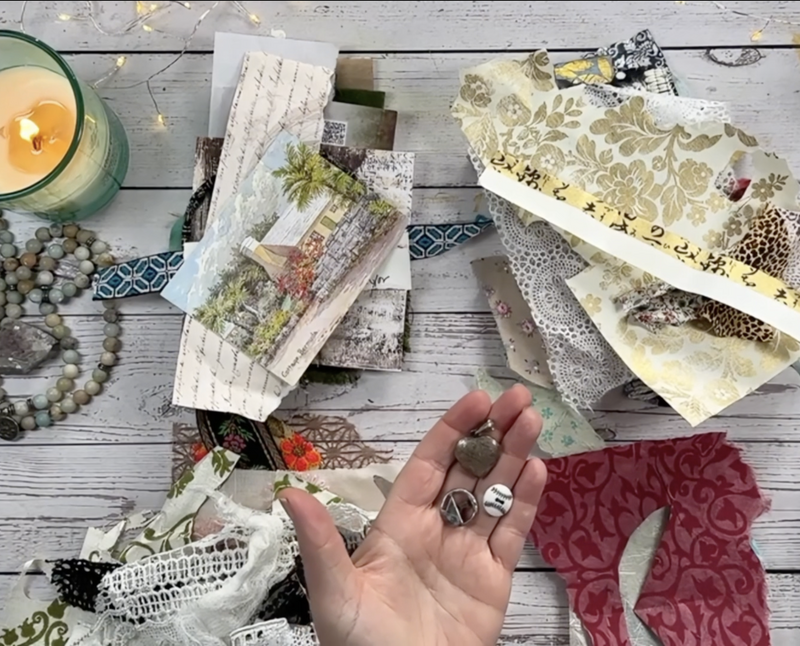
One of my favourite parts happens before any layering begins. There’s a whole lesson on sorting your materials, looking at fabrics, papers and sentimental pieces not as a pile of options but as storytellers. That step alone often brings clarity before the art even starts.
The workshop is self-paced, so you can pause, rewind and come back whenever you need. There’s no rush and I am only an email away to answer questions and provide support. It’s $97 with lifetime access.
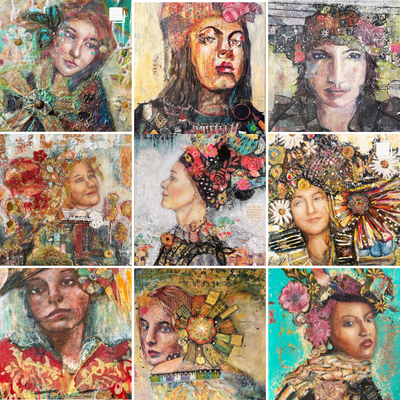
I’d love to walk beside you as you learn to layer with more confidence and intention.
Light & Love,
P.S. If you’d like to read about how I slowly turned toward faces in my own work, you can visit A Year of Faces.
P.P.S. I share creative tips, studio stories and what’s on my easel in my weekly newsletter. You’re always welcome to join us here.
I live and create on the traditional lands of the Anishinaabeg peoples, lands that remain under their original stewardship. I honor their enduring connection to this place and their care for it over generations.


Comments